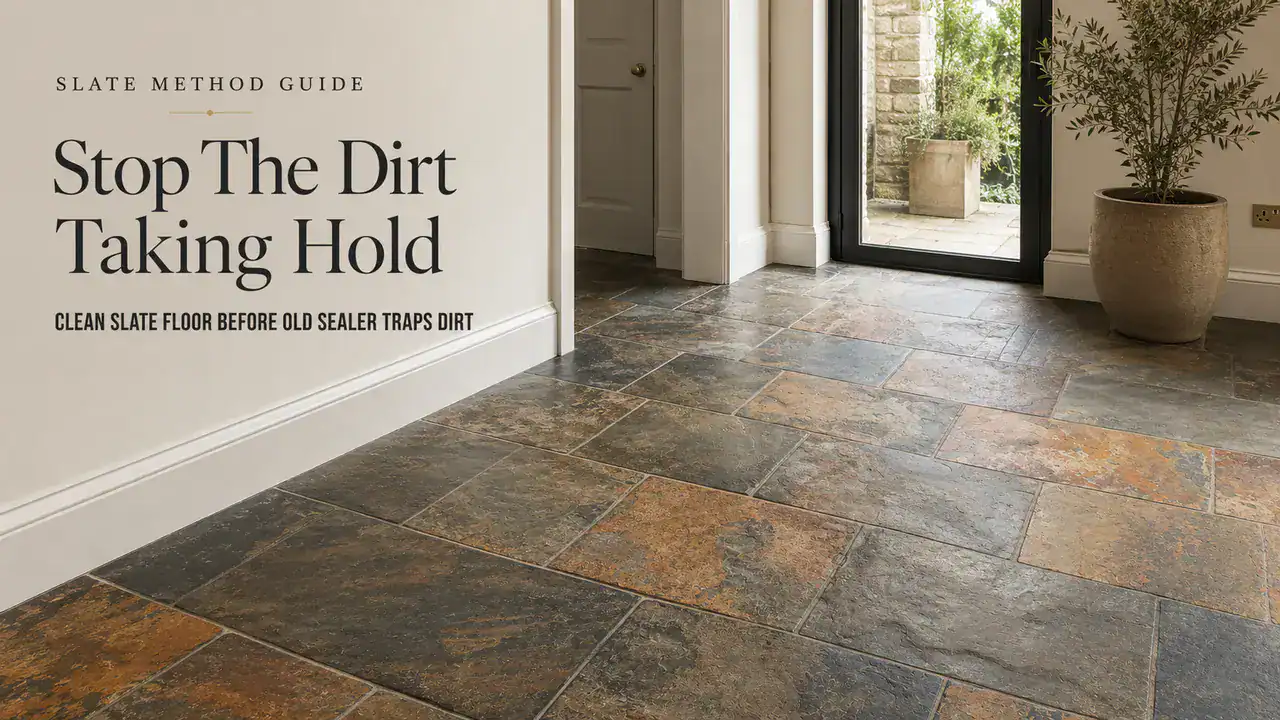
Clean Slate Floor Before Old Sealer Traps Dirt
Last Updated on June 9, 2026 by David
How to Clean and Reseal a Small Slate Floor Before It Gets Worse
A small slate floor is a sensible DIY project only while the area is still manageable, the old coating is thin enough to soften, and the surface can be worked without flooding. The warning sign is rarely dramatic. The floor simply stops responding to normal mopping, the colour looks flat, and dirty water seems to sit in the texture instead of lifting away cleanly.
The Visible Problem
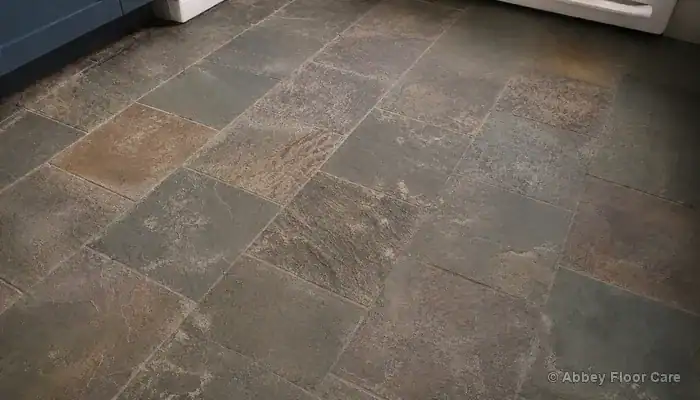
Slate cleaning becomes necessary when normal washing starts spreading soil instead of removing it. A riven floor has small ridges, hollows and tile edges that collect residues from old cleaners, worn sealers and repeated damp mopping. The surface may look grey after it dries, particularly around cooking areas, doorways, sink runs and places where the mop has carried dirty water into the same low points for years.
Old sealer build-up often shows as patchy shine, sticky edges, dark lines around grout, or a dull film that seems to improve while wet and then dries flat again. That pattern tells you the floor is not just dusty. The cleaning water is fighting a layered surface film, so stronger household detergent can leave more residue behind and make the next clean harder.
Detergent residue from everyday mopping can make the floor feel as though it needs a more aggressive cleaner, but the real issue is often accumulation. Each wash leaves a little surfactant behind. Soil then sticks to that residue, and the floor starts to re-soil faster because the surface is no longer clean enough to accept a protective finish evenly.
Small-area working keeps this kind of slate cleaning realistic because you can see how the surface is reacting as you go. Five square metres is already a fair amount of kneeling, scrubbing, wiping and rinsing for most homeowners. A larger floor can still be cleaned by hand, but only if you accept that the work is slow, repetitive and hard on knees, wrists and shoulders.
The Preserved Product Sequence
The product sequence in the original small-floor method remains useful because it separates coating removal, deep cleaning, rinsing and resealing into distinct stages. LTP Solvex softens old acrylic sealer and wax. LTP Grimex helps emulsify the softened residue and ingrained soil. An impregnating sealer protects the cleaned slate without leaving a surface film, while a surface sealer or wax changes the final sheen only after the floor is clean and dry.
The working order matters more than the brand name because every stage has a different job. Mask the skirting boards, remove loose items, put on gloves and goggles, then work only one or two square metres at a time. Apply the coating remover as far as you can comfortably reach, allow it to dwell, dampen it with cleaning solution, agitate the surface and remove the dirty slurry before it dries back into the low points.
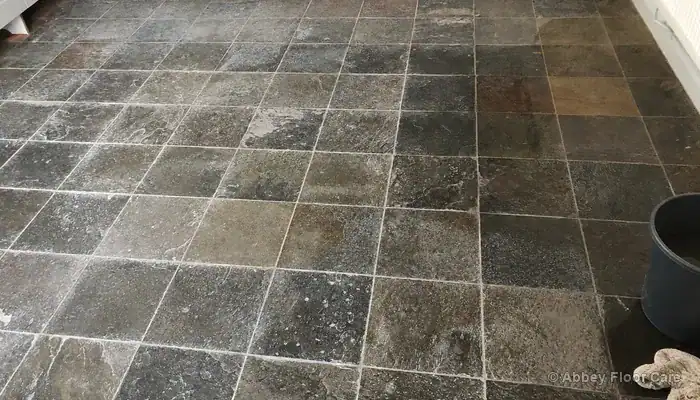
The first cleaning pass should not be judged as the final result. Old acrylic, wax and detergent layers may need several controlled passes before the tile and grout stop releasing grey or brown residue. Repeating the same small section is safer than flooding the whole room because it keeps the slurry visible, keeps the dwell time under control and reduces the chance of dragging dissolved contamination across areas that are already clean.
Wet slurry removal is the part most DIY attempts underestimate. A wet vacuum makes the work far easier because it lifts dirty liquid out of riven texture, grout lines and tile edges before it settles again. A mop, sponge and cloth can work on a very small area, but they need frequent rinsing, clean water changes and patience because they move contamination as well as remove it.
Where Normal Cleaning Is No Longer Enough
Slate cleaning has reached the right point for resealing only when the surface no longer feels greasy, the rinse water stays reasonably clear, and the floor dries without smears or sticky patches. Pale wear marks may still remain because cleaning cannot replace surface colour that has been abraded by traffic. The aim is not to scrub until every variation disappears; the aim is to remove residues so the next finish can bond or penetrate evenly.
Drying time deserves more respect than most product labels suggest. Slate itself may dry fairly quickly, but grout joints and riven troughs can hold moisture well after the surface looks dry. Leaving the floor overnight, or longer where the grout is porous, reduces the risk of sealing moisture into the texture and creating patchy absorption, clouding or poor adhesion.
Sealer testing should happen before the whole floor is treated. A colour-enhancing impregnator can deepen Welsh, Indian or black slate dramatically, and that may be exactly the finish you want. It can also make some mixed slate look too dark under kitchen units or in shaded corners. A small test patch lets you judge the appearance before committing to the full floor.
Routine care becomes simpler once the old coating and residues have been removed properly. A neutral stone cleaner, a well-wrung mop and clean rinse water will usually maintain a resealed floor far better than strong detergents. Broader everyday cleaning routines are covered in this guide to keeping slate floors clean when they stay dull.
What Can Go Wrong If Slate Cleaning Is Rushed
Rushed slate cleaning usually causes problems when cleaner strength, rinsing, drying time or test patches are skipped. Acidic products can disturb colour on softer slate, while harsh alkaline residue can interfere with the next sealer if it is not removed. The floor may look cleaner while wet, then dry with pale smears, sticky ridges or darker grout lines.
Slow testing prevents cleaning mistakes from becoming permanent floor problems.
Residue build-up becomes worse when dirty slurry dries back into the riven surface before extraction. Over-wetting also gives porous grout more time to absorb contaminated liquid, which can leave the joints looking darker than they did before the work started. A controlled sequence keeps the cleaning powerful enough to remove old coating, but careful enough to avoid turning a small maintenance job into a repair problem.
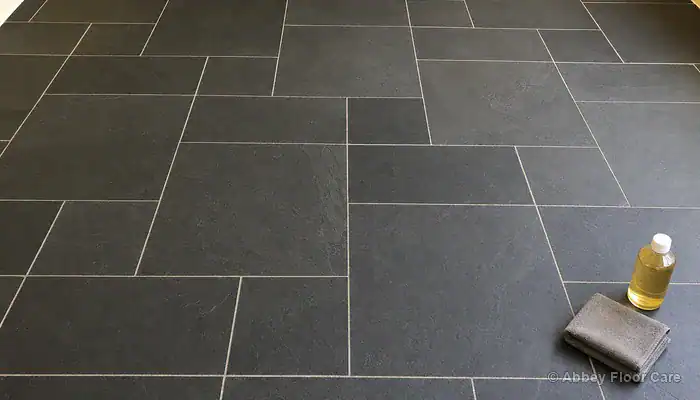
The Tools That Keep Slate Cleaning Controlled and Manageable
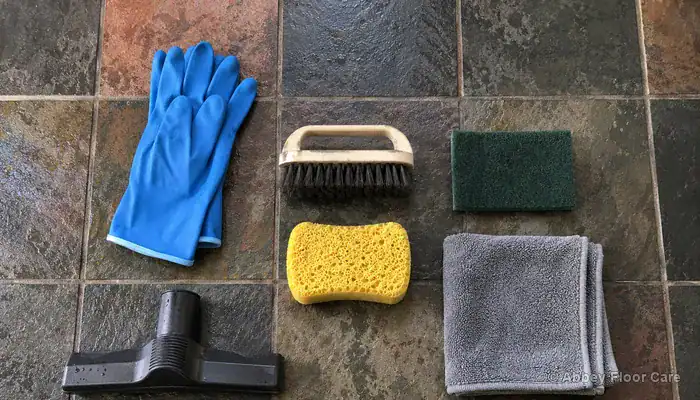
The right tools keep slate cleaning predictable because they control agitation, slurry removal and rinsing without flooding the surface. Gloves, goggles and knee pads protect you while you work close to the floor. Masking tape protects skirting boards and fixed furniture from splashes during the coating removal stage.
A brush or hand pad loosens softened sealer from the tile face, while a grout brush reaches the joints and tile edges where build-up is usually heaviest. A wet vacuum is the most useful piece of equipment because it removes dirty liquid before it settles into the ridges and troughs. A clean-water bucket, sponge, mop and absorbent cloths then allow repeated rinsing, so the final surface is clean rather than merely diluted.
When the Floor Is Clean Enough to Reseal Safely
Before cleaning is complete, the floor still smears when wiped, the rinse water darkens quickly, and old coating catches around tile edges. Sealer should not be applied at this stage because it will trap contamination and exaggerate patchiness instead of protecting the slate.
After cleaning is complete, the surface dries evenly, the grout no longer releases dirty residue, and the slate accepts a test coat without beading in some areas and soaking heavily in others. A practical aftercare routine then matters: dry soil removal, damp mopping with neutral cleaner, clean rinse water and prompt spill wiping keep the resealed finish from degrading too quickly.
Where to Learn More About Keeping Slate Floors Clean
Broader slate care guidance belongs after the method because this page is about a small cleaning, stripping and resealing job rather than every problem a slate floor can develop. Flaking, filler collapse, sealer choice, wet-look finishes and long-term maintenance all need wider context once the immediate cleaning work has been understood.
Slate floor maintenance works best when the cleaning routine matches the stone, the surface finish and the way the room is used. A kitchen floor beside garden doors needs a different routine from a low-traffic hallway, even when both are slate. Wider behaviour, care and long-term protection guidance is covered in this broader guide to slate floors in UK homes.
Products Used In This Guide
Slate Cleaning Chemicals
Slate Impregnating Sealers
Slate Surface Sealers
Slate Floor Wax
- LTP Clearwax — est £21.00 for 1 litre
Materials
Personal Protection Equipment

David Allen — Abbey Floor Care
David Allen has cleaned and restored slate floors for Abbey Floor Care for more than 30 years, including small domestic floors where old sealer, dirty slurry and detergent residue had to be removed before resealing. His slate cleaning advice focuses on controlled chemistry, careful extraction and realistic DIY limits so homeowners protect the floor rather than accidentally sealing in the problem.
Recent Posts:
We work throughout the country, just some of our work counties:
Copyright © 2025 Abbey Floor Care. Tile And Natural Stone Cleaning Consultants FAQ - Privacy Policy - Terms And Conditions
Abbey Floor Care is a participant in the Amazon Services LLC Associates Programme, an affiliate advertising programme designed to provide a means for websites to earn advertising fees by linking to Amazon.co.uk. As an Amazon Associate, we earn from qualifying purchases.