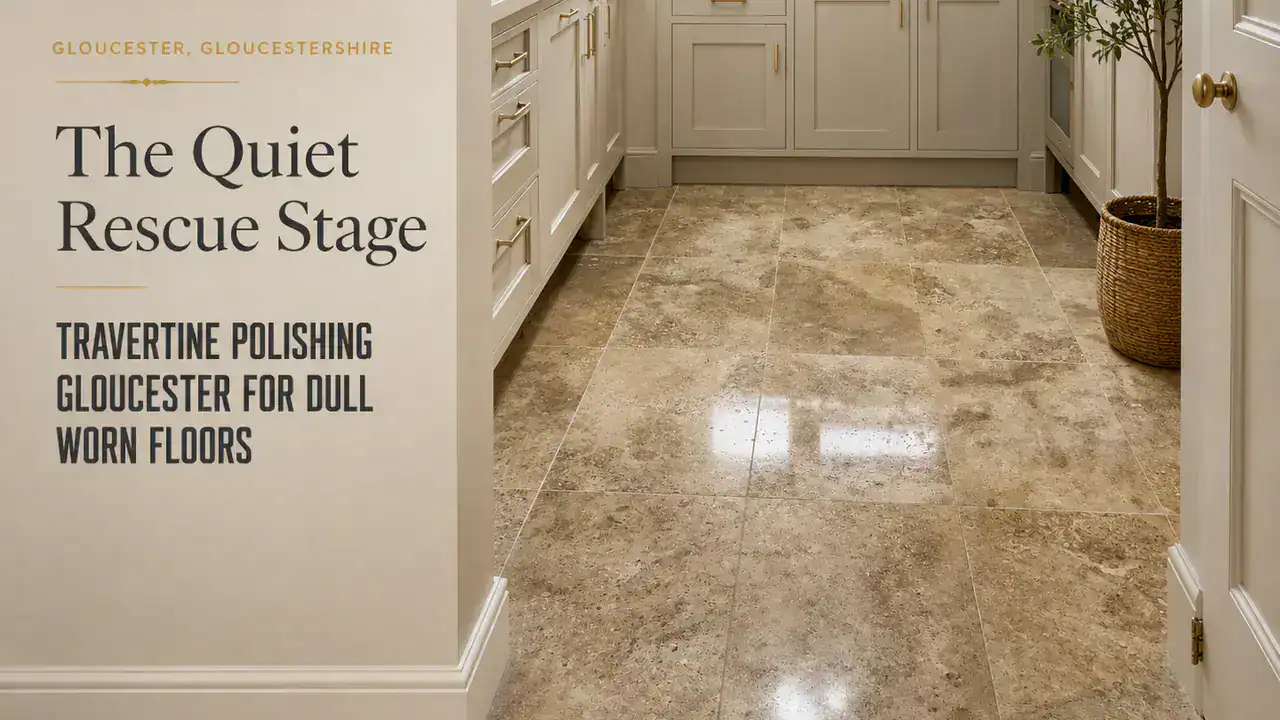
Travertine Polishing Gloucester For Dull Worn Floors
Last Updated on July 5, 2026 by David
How the worn polished travertine floor in Gloucester was assessed before repair, polishing and sealing
If your polished travertine shows local dull patches, visible holes and deep scratches, the floor may still be suitable for professional repair, polishing and sealing rather than major replacement. In this Gloucester GL4 home, the travertine had been well maintained for around ten years, but the polished finish had started to wear in specific areas where open holes, deeper scratches and traffic dullness interrupted the shine.
The floor was not failing across the whole room. The problem was that the worn polished areas caught the light differently from the surrounding tiles. Because the rest of the travertine still reflected reasonably well, the holes and scratch lines became more visible and made the surface look more tired than it felt underfoot.
In my experience, this kind of worn polished travertine is often a local finish-recovery issue rather than a sign that the floor needs replacing. The homeowner wanted to know which scratches could be reduced, whether the holes could be repaired cleanly, and how the floor could be polished and sealed before the finish declined further.
The first project photograph records the floor before the repair, polishing and sealing work was complete. The circled areas show the type of open holes that break up a polished travertine surface because they interrupt the reflection and make small defects stand out across the room.

Honed and filled travertine is common in UK homes because the factory-filled surface gives a smoother, more practical domestic finish than open tumbled stone. Homeowners tempted to tackle scratches or holes themselves should read our guide on restoring a travertine floor yourself before attempting any DIY fix, since incorrect abrasives can worsen local wear. Gloucester homes with busy kitchen, hallway and living-space routes often show the first signs of finish loss where grit, chair movement or repeated foot traffic concentrate in the same areas.
That mattered here because the floor was still a good installation, but the polished finish needed controlled restoration. The work had to identify and fill the holes, reduce the deeper scratches, blend the repaired areas back into the surrounding travertine, polish the surface evenly and seal it for everyday use.
Why deep scratch removal, colour-matched void filler and Travertine Resin Filling had to be localised and feathered
Repairing a worn polished travertine floor is not just a matter of polishing harder. Deep scratch removal, hole filling and finish recovery all affect the same reflective surface, so each repair had to be kept local and feathered into the surrounding stone. On this Gloucester floor, the aim was to reduce the visible scratches, fill the open holes and prepare the repaired areas for polishing and sealing without leaving obvious repair patches.
Localised Scratch Feathering
If polished travertine shows a scratch that catches the light from one angle, the mark usually sits below the surrounding polished finish. Removing it means carefully reducing the surface around the damage, not simply buffing the top. That is why the scratch work had to be controlled and feathered outward, so the repaired area could disappear into the rest of the polished travertine after honing and polishing.
Diamond honing in this part of the repair stayed close to the damaged areas that needed correction. The scratch lines were refined in stages with controlled pressure, so the worn polished floor could be improved without creating a hollow, flat spot or over-abraded patch that would still show after sealing.
Colour-Matched Hole Filling
If a polished travertine tile has open holes that appear darker than the stone, the floor looks more worn because the smooth reflective finish has been interrupted. The repair used a filler matched to the surrounding travertine tone, allowing the visible holes to be stabilised, softened and made ready for final polishing without making the floor look artificially uniform.
Travertine’s natural holes are part of the way the stone forms. They do not, by themselves, mean the floor is unstable. The dense calcium-carbonate material between the voids remains sound, but visible pits on a polished floor need selective filling when they interrupt the finish or collect soil at the surface, as with vein-cut travertine restoration, where filling technique also has to respect the stone’s natural pattern.
The second project photograph shows the open holes after filling and before final finish blending. The repair material needed time to cure before it could be honed level with the travertine, because polishing too early would disturb the filler edge and stop the repaired holes from blending into the same surface plane as the surrounding floor.

Two-Stage Filling And Finish Blending
If a repaired travertine hole remains proud, low or mismatched, it will still be visible once the floor has been polished and sealed. The Gloucester repair therefore used a two-stage process: fill and colour-match the holes first, then refine the cured filler so it sat flush with the travertine before the polishing sequence restored the shine.
Resin-based filling was the right approach here because the repaired holes needed to become part of the same working surface as the surrounding stone. Once the filler had cured, the filled areas could be honed flush, polished with the worn sections and sealed as part of one continuous polished travertine floor.
Small-hole repair sits within this case study as a supporting stage, not as the main topic of the article. Readers who need more detail on hole filling can use the dedicated travertine tile repair guide, while this Gloucester project stays focused on polished finish recovery.
How diamond honing, polishing compound and sealing restored the worn polished travertine finish
Diamond honing and powder polishing were used to restore shine gradually after the local repairs had been completed. The aim was not to grind away more travertine than necessary, but to refine the worn polished areas, blend the filled holes and scratches, and prepare the floor for sealing. Because the Gloucester floor was still broadly serviceable, the controlled work stayed focused on the repaired holes, deeper scratches and dull traffic-worn sections.
Progressive honing pads refined the corrected areas through a measured 400–1500 sequence. The coarser stages reduced the scratch profile, while the finer abrasives rebuilt the surface refinement so the repaired and worn zones could return towards the same sheen as the surrounding tiles. Where an old, degraded sealer complicates this process, old sealer must be safely removed first — see our guide on safely stripping old sealers off travertine for the correct approach.
Restore the shine gradually, without cutting away more travertine than necessary.
Powder polishing compound then lifted the honed surface back towards a polished travertine finish. This stage developed the clarity and depth of shine after the repair and honing stages had corrected the surface, which is why polishing came after filling and scratch reduction rather than being used as a shortcut.
The polishing photograph shows the floor during the finish recovery stage, before the completed surface was ready for final protection. This stage matters because the success of a repaired, polished and sealed travertine floor is judged by how evenly the light travels across the surface, not by how aggressively the stone has been abraded.

What changed after the scratches were polished out, the floor was colour-enhanced and broader travertine care was handed off to the hub guide
The final result matters because the floor should read as one consistent polished surface, not as a collection of repaired patches. After the work, the deeper scratches had been polished out, the filled holes sat more naturally within the tiles, and the floor regained a more even shine across the room.
Colour-enhanced sealing supported the visual finish by enriching the surface and helping the homeowner maintain the restored appearance, using a sealer suited to long-term protection rather than a short-lived topical coat. The handover stayed practical: protect the floor from grit, avoid harsh products, and follow travertine-specific care rather than generic stone or tile advice.
The final image shows the completed Gloucester floor after repair, polishing and sealing. The visible change is a cleaner, more consistent polished surface that looks refreshed before the decline had become severe.

Polishing recovery of this kind is not unique to Gloucester — the same approach applied on a recent travertine polishing project in Dormansland, Surrey. Broader lifecycle guidance belongs on the material hub rather than inside this focused case study. For wider advice on cleaning, repair, sealing and long-term care, see the travertine flooring care, cleaning, repair and restoration guide.

David Allen — Abbey Floor Care
David Allen has worked with natural stone floors for many years, focusing on practical diagnosis, controlled restoration methods and clear homeowner guidance. His work with travertine includes cleaning, selective filling, polishing and sealing projects where the aim is to improve the floor while respecting the stone’s natural character.
Recent Posts:
We work throughout the country, just some of our work counties:
Copyright © 2026 Abbey Floor Care. Tile And Natural Stone Cleaning Consultants FAQ - Privacy Policy - Terms And Conditions
Abbey Floor Care is a participant in the Amazon Services LLC Associates Programme, an affiliate advertising programme designed to provide a means for websites to earn advertising fees by linking to Amazon.co.uk. As an Amazon Associate, we earn from qualifying purchases.